
This quick and easy roasted garlic, made on the stove top, is a great way to use up the remaining garlic from last year’s garden.

Last year was a great garlic year here on the homestead. REALLY great. I had planted well over one hundred cloves of garlic the fall before. I made sure to keep an eye on the extra deep layer of mulch I put on (the wind has been known to take it away). My efforts were rewarded with a full year’s supply of garlic for our family.

Ways to Preserve Garlic
Properly cured garlic will easily last the year in a cool dark storage room. Our problem is that we don’t currently have a cool, dark room to store the garlic in. One day it will be built, but for now, my garlic was being stored in a cardboard box in the pantry. I put in a lot of effort to grow this garlic and I was not going to let is rot in my pantry.
There are many different ways to preserve garlic. It can be dehydrated and turned into powder, chopped and frozen in small portions, mixed into butter and froze for future use. Some of those extra lucky folks out there can even freeze dry their garlic, making it shelf stable for up to 25 years! When I am thinking about how I want to preserve something from the garden, I usually first think about future meals. What would future me like to eat? What could be nice to have for a quick addition to make something feel a little more fancy? This time the answer was roasted garlic.
How to Roast Garlic
Typically garlic is roasted in the oven. You cut the top off the bulb. Drizzle it with an oil of your choice (hopefully not a seed oil…). Wrap it up in foil and roast in the oven until tender. It’s a great method. My problem was that I had a lot of garlic that I wanted to roast.

Roasting Garlic, the Quick and Easy Way
So I deiced that I would try roasting the garlic directly in the oil on the stove top. First I separated all the cloves of garlic from the bulbs. Next came peeling. This isn’t hard to do, but it is tedious. If you have small people living in your house that enjoying helping in the kitchen now is the time to get them. I smashed the cloves of garlic with the side of my knife, then passed them on to the children to peel off the skins and deposit in a bowl. Don’t have children, no problem. Download a new audiobook or podcast and just enjoy the process.

Once the garlic was all peeled, I placed the garlic in a jar and covered with olive oil. No fancy measurements here, we our measuring with our hearts friends. As long as you use a small pot, this should be enough oil to cover the garlic for roasting.
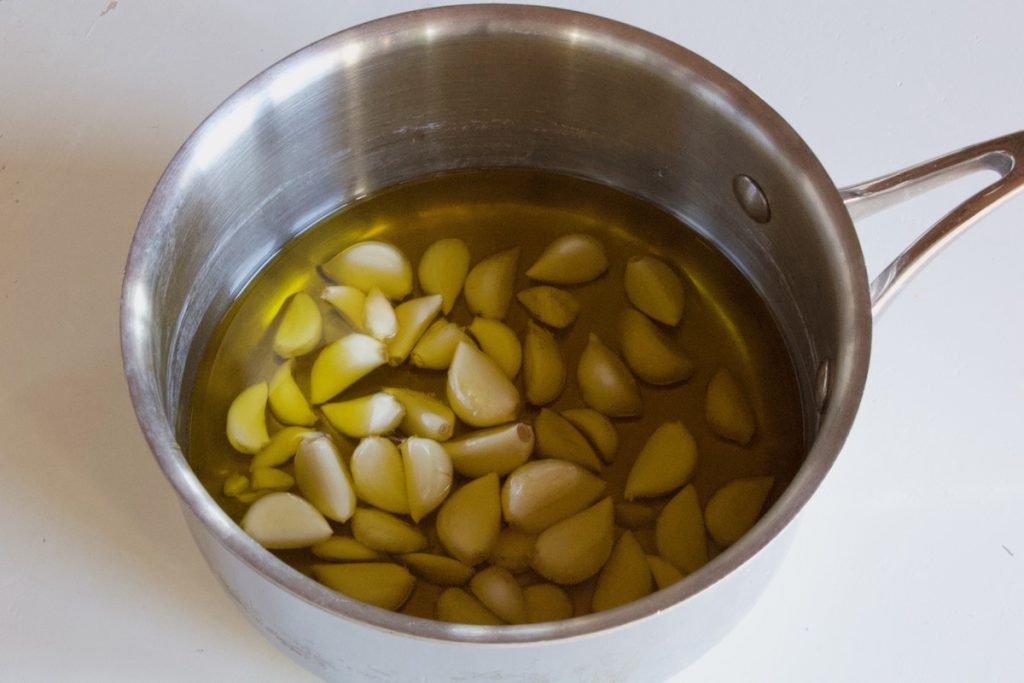
After you have the garlic in the pan you are going to place it over a low heat on the stove and let it do its thing. You do not want the oil to boil. We are not deep frying (though it would be tasty). You just want some gentle bubbles coming up through the oil occasionally. You need to make sure the garlic has time to get soft all the way through. Otherwise it will be crispy on the outside and raw on the inside. Low and slow, friends, low and sloooooow.
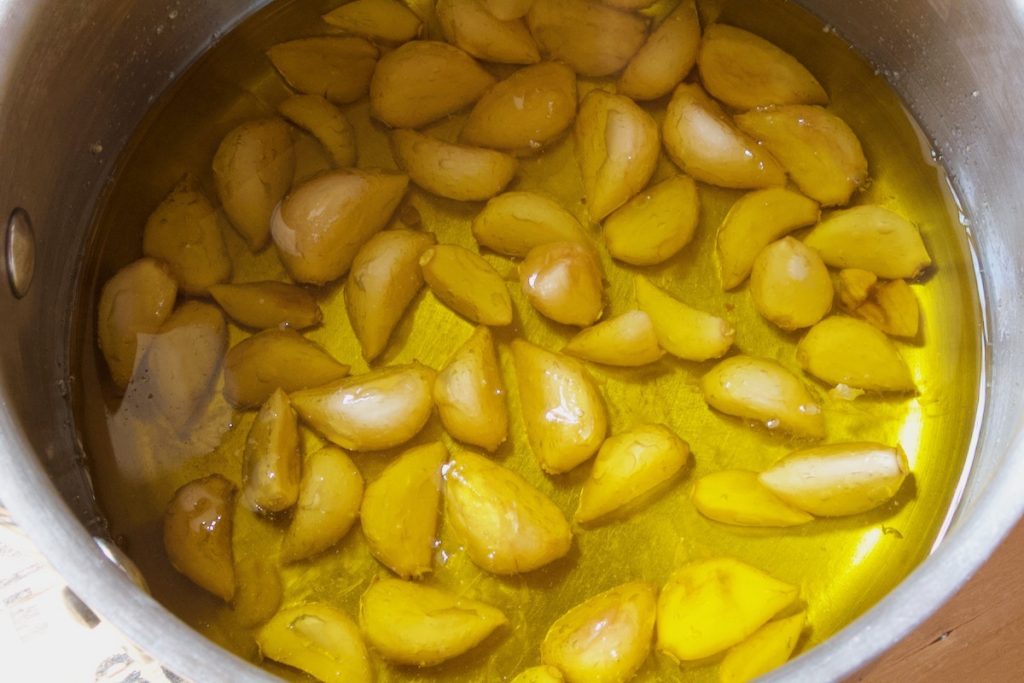
When you can squish a clove with a fork your quick and easy roasted garlic is done. It took my garlic about 30-45 mins to soften. It should look something like the above photo. Now you want to leave it to cool. This is important. The oil is hot. Please don’t burn yourself. This is a great time to get a jar ready to store your quick and easy roasted garlic in. You will want a clean and sterilized jar if you are planning to keep this for any length of time. If you are going to eat it within a week, a clean jar will do. I prefer a flip top jar to store my commonly used food items in.
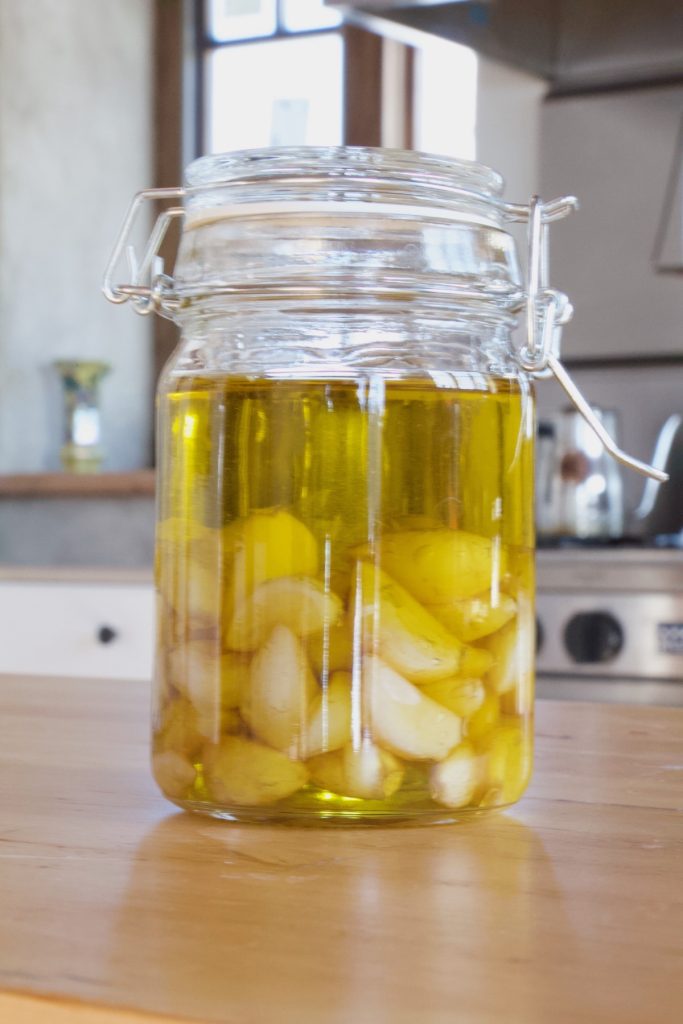
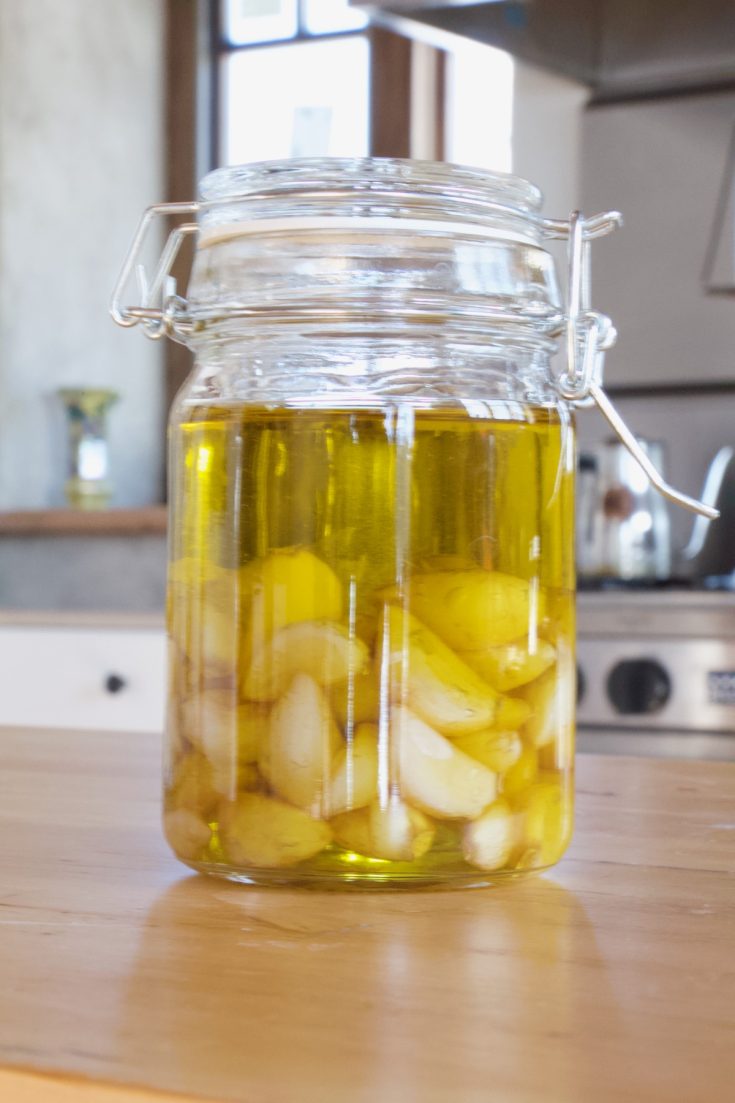
Once the quick and easy roasted garlic is cool, gently pour it into your jar, making sure the oil completely covers the garlic cloves. This part is important. The oil is going to keep the air away from the roasted garlic. Air is the enemy in food preservation, so if you want your roasted garlic to last more then a week, you need to make sure it is completely submerged. After that, you close the lid and put it in the refrigerator. Any time you use some just make sure the remaining cloves are covered in oil. If the jar is getting low just add more oil to cover the cloves.
How to use Quick and Easy Roasted Garlic
There are so many uses for this roasted garlic. You can add it to a sandwich. Mix it into butter for garlic bread. Top of a wheel of brie and bake it. Mashed potatoes, pesto, soup. If you would add fresh garlic to a recipe you could substitute this roasted garlic and it will probably be delicious. Leave a comment below if you try the recipe.

This page includes affiliate links. If you use the link and make a purchase, I may receive a small commission at no extra cost to you. Thank you for supporting our site.
Shop This Post
Flip Top Glass Jars https://amzn.to/3MpcdgF
Weck Glass Jars https://amzn.to/41ecK9q
Quick & Easy Roasted Garlic
This quick & easy roasted garlic, made on the stovetop, is a great way to use up the garlic from last year's garden
Ingredients
- Garlic cloves, separated and peeled
- Olive oil
Instructions
- Seperate the cloves of garlic from the bulb
- Peel all the cloves and trim the ends if necessary
- Place garlic cloves in a jar and cover with olive oil
- Pour garlic and olive oil into a small sauce pan
- Place pan on lowest heat setting on stove. Do not boil.
- Once garlic is tender, in 30-45mins, turn off heat and cool completely.
- Place cooled garlic and oil into a clean, sterlized, glass jar. Making sure the cloves are completely submerged in oil
- Place in fridge until ready to use.
Notes
If you are not using a sterlized jar, besure to use within a week or so. If the jar is sterilzed, the garlic will last much longer.
Make sure the cloves are always submerged in oil before you put the jar back in the fridge. If there is not enough oil left in the jar, just add more.
Doesn’t your olive oil congeal in the frigid or does the heating of the oil prevent the congealing?