
September is hydroponics month here at the homestead. Follow along because this week I am going over how I set up my indoor hydroponic garden.
As we continue along our hydroponic adventure this month, I am getting ready to set up our indoor hydroponic garden for the winter. Last week I went over what a hydroponic garden is and why you might want one for your home.
About our indoor hydroponic garden
Our indoor hydroponic garden is a TowerGarden. This post is not sponsored, and all opinions are my own, but I did want to share about the system in case anyone is interested in getting one.
I typically don’t have the indoor hydroponic garden set up in the summer. This is mostly a winter garden for the house. During the spring and summer I like to be able to focus one the outdoor gardens.
We have had this system for 5 years or so and overall have really enjoyed using it on the homestead. It make indoor hydroponic gardening a breeze. The TowerGarden is a vertical, aeroponics system that takes up less than 3 square feet of space. You can customize the number of plants that you would like to grow in the garden by adding more stacks.
According to the TowerGarden website, you can expect increased yields (compared to a tradition soil garden) by an average of 30%. They also claim that plants grow 3x faster and the tower uses 98% less water than a traditional garden.
I’ve never measured any of those, but if the claims are even mostly true those are some pretty impressive results.
Parts of the indoor hydroponic garden
The basic set up for any hydroponic garden includes water reservoir, a place to put the plants, nutrients, and light. Our indoor hydroponic garden also includes a support cage that goes around the whole unit.
Reservoir
Our garden has a 20 gallon reservoir that holds the water and nutrients. There is an access hatch in the cover for adding more water and nutrients as needs. The water pump is also located in the reservoir. It attaches to the base of the tower to move the water and nutrients up to the top of the tower.
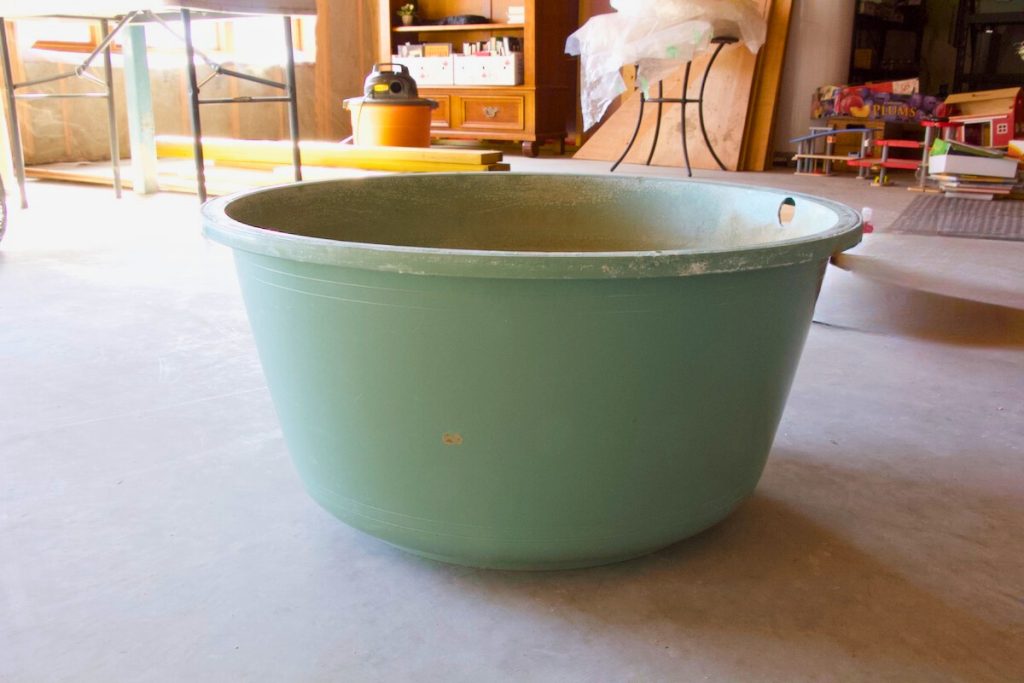
We have found the easiest way to fill the reservoir is with a hose. If you indoor hydroponic garden is not located close to a door with a hose outside of it, the next best way is with a 5 gallon bucket.
I like to add the nutrient solution to the water just as I am starting to fill the reservoir. That way it can get all mixed in as the water is being add. I’m not sure if it really makes a difference but we all have our little ways that we like to do things, and this one is mine.
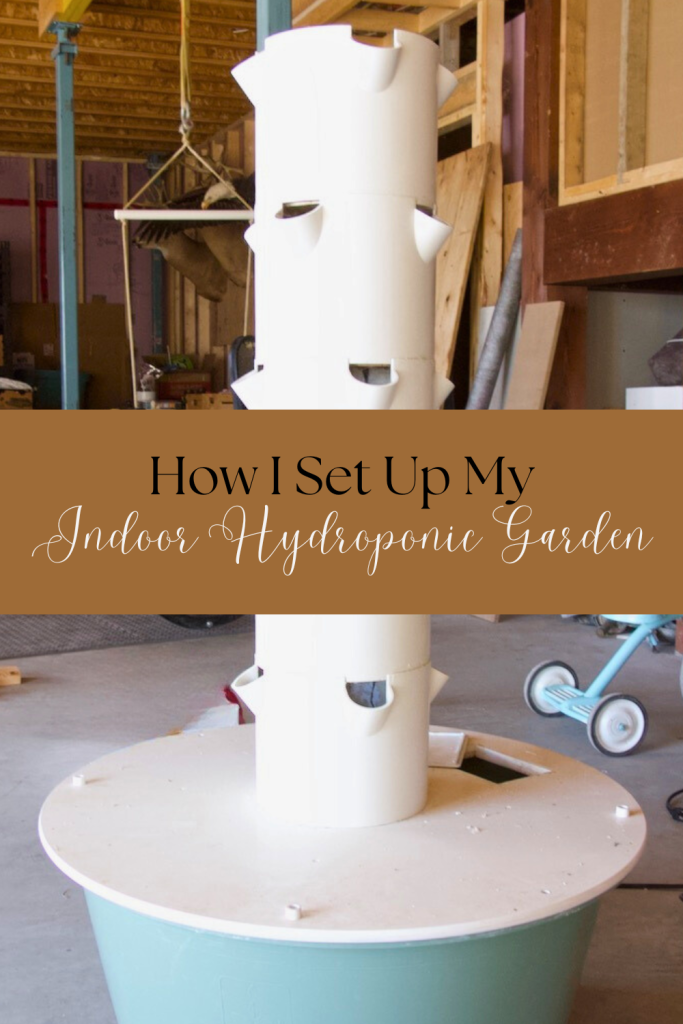
Tower pieces
The tower pieces are stacked on the reservoir cover for the indoor hydroponic garden. Each piece of the stack holds four plants. We have a total of seven pieces that we can add to our indoor hydroponic garden. That is a total of 28 plants that we can grow at one time.

The height on the garden is adjustable depending on how many plants you wish to grow. I don’t often use all seven pieces of the tower but it is nice to know that I could.
At the top of the tower there is a flat lid. The lid stops the water from spraying outside of the tower when the pump is running.
Cage/support
The next part of our indoor hydroponic garden is the cage/support that goes around the tower. You can add the cage before or after you add the tower pieces. If you add it after the tower is on, you need to lift it up and over the top of the tower.

The cage has 4 spots that it rest on the lid of the reservoir. There are an addition two spaces that is connects to the underside of the reservoir lid in order to secure it in place.
The cage is what we attach our grow lights to. I have seen some versions of this garden where the lights attach to the top instead of the cage.
The cage can also act as a support for your growing plants. If you decide to grow large, heavy plants (like tomatoes) the cage/support will stop the plant from falling over and breaking the stem.
Lights
We use a full spectrum T5 fluorescent bulb for our indoor hydroponic garden. We have been very happy with the fluorescent tubes. LEDs were not as readily available when we were looking for lights for the garden. Maybe one day we will upgrade when the ballast need to be replaced but for now these work well. They do get hot and can burn the plants if the plants are touching the bulbs. That would be the one downside of the fluorescents.

I typically turn the lights on around 7am when we are starting our day. They get turned off around 7pm when the children are winding down. So that is about 12 hours a day on, and 12 off. Pretty easy to add to a timer.
Programmer
We have a very basic non-digital timer that we bought off of Amazon for $25. The timer currently is set up to run the water pump for our indoor hydroponic garden.
During the day we like the water pump to come on every 15 minutes. So on the timer it looks like 15 mins on, 15 mins off. During the night (when the lights are off), we still have the water run for 15 mins, but then it is off for 30.
I’m not sure if this is the best way to run the water, but we find having it run less in the evenings and night means that we don’t hear it as often. So it doesn’t disturb anyone. We also haven’t seen any reduction in growth by reducing the amount of water pumped through the garden at night.

So, those are all the parts of our indoor hydroponic garden and how they go together. Come back next week as I go over what we are planting in the garden this fall and how to put the plants, water and nutrients into the indoor hydroponic garden.
Leave a Reply