
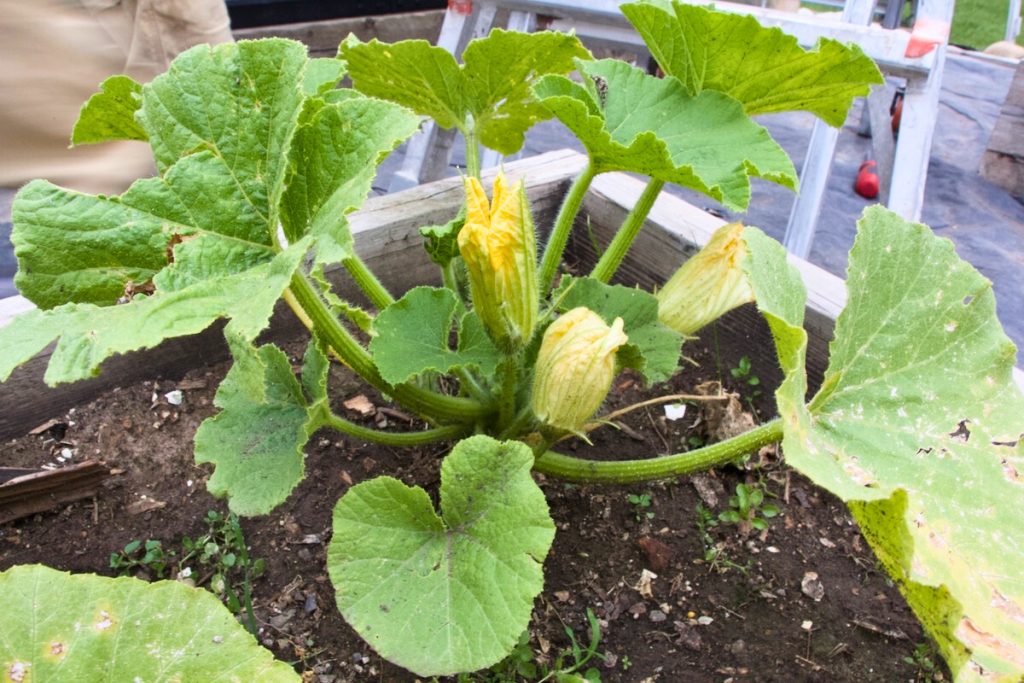
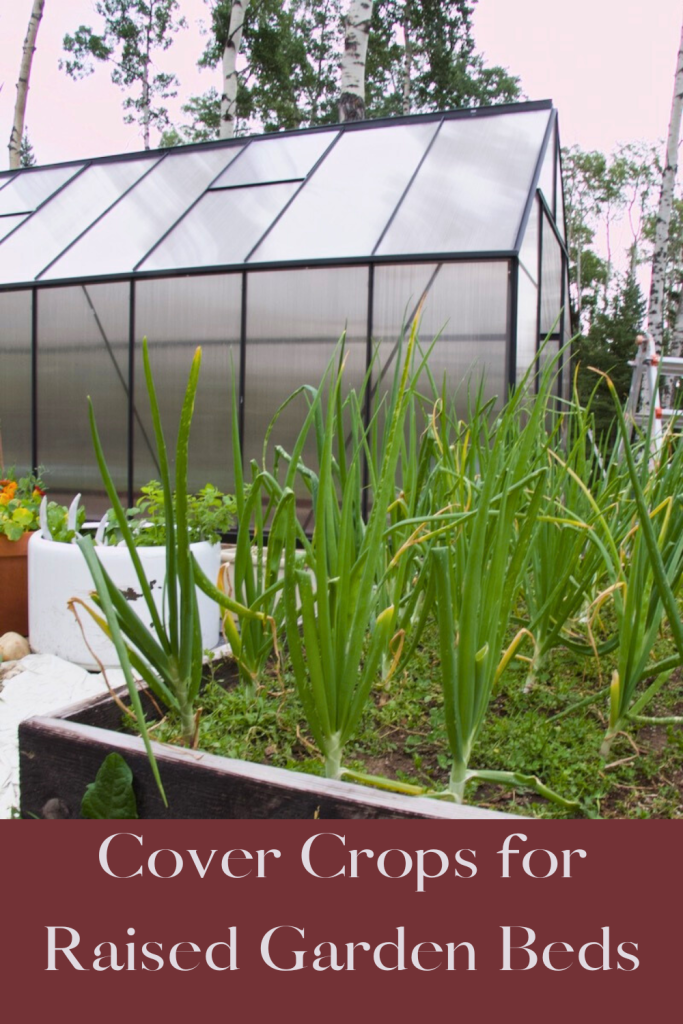
With the gardening season coming to a close, it’s time to start thinking about getting our garden beds ready for winter. Let’s talk cover crops for raised garden beds.
It’s been a long and glorious summer. And while the garden still maybe be in peak producing season, it’s time to starting thinking about preparing the garden beds for their winter rest. Enter the cover crop.

What is a cover crop?
A cover crop is a temporary plant that you grow in your garden. Its function is to ‘cover’ the soil when it is not in use. Bare soil is prone to erosion. Soil erosion can happen for a number of reason but the two main causes for a gardener are through water and wind. Bare soil left all winter would slowly be blown away with the winter winds. If you do not use a raised bed, a fast/hard rain fall could easily wash away the top layers of your soil. It takes a long time to build up the organic matter in soil, but it takes almost no time for it to erode away. Using cover cropping is the best way to prevent erosion in your garden.
Cover crops have addition benefits beyond erosion control. They can be used to enrich garden soil fertility, add to your soil biodiversity, they can improve soil aeration, as well as improve water infiltration and water retention.
The best time to plant a cover crop is as soon as you are ‘done’ with the bed. So when you are no longer growing your crop of choice.
What is the best cover crop?
The best cover crops are the ones that will help solve a problem in your garden. If you have a low nitrogen, or the garden bed had heavy feeding plants like tomatoes and peppers, you might want to add a cover crop that will fix nitrogen into the soil.
If you have soil compaction issues, a cover crop with an extensive root system can help loosen the soil, thus reducing compaction.
Maybe you have drainage issues in your garden. You would want a cover crop that could help improve that. The point is that there is only the best cover crop for you right now.

Types of cover crops
There are many different type of cover crops but generally they can fall into one of three categories. Cover crops can be classified as grasses, legumes and non-legume broadleaves.
Grasses have a fine and fibrous root system that is well suited to holding soil in place. They are great for improving soil structure. The best grasses are quick growing and easy to terminate once they are no longer needed.
Legumes have the ability to take nitrogen from the air and add it to the soil. Thus supplying the following crops with a sufficient supply of nitrogen to help it grow. They can protect the soil from erosion and will add organic matter back to your garden.
Non-legume broadleaves are used for a green manure and for building soil. They are not typically winter hardy, so the will die off with the cold. But do not let them go to seed.
Common cover crops
Hairy Vetch
Hairy vetch is a legume, which means that it can be used to add nitrogen to your soil. It is tolerant of acidic soils and can handle light shade. Beware, it is toxic to chickens. So if you hens are free ranging the garden, this might not be a good choice for you.
Crimson Clover
Here we have another legume. Clover is an excellent nitrogen fixer. Crimson clover has a tendency to bloom in April, regardless of when it is planted. Till the clover under once it blooms. The clover should break down in about 10 days and then the garden bed is ready to plant.

White Clover
Just like Crimson Clover, White Clover is a nitrogen fixer. This type of clover can spread underground with root runners. It is incredibly hardy, good to a Zone 4 (-34 C). We have lots of white clover here and I will admit, it is not my favourite. Once it is in the garden bed, it is very hard to get rid of. The bees love it thought, so it could have a place on your homestead.
Fava Beans
There are fava beans for eating and there are fava beans for cover crop. The cover crop is a variety with small seeds. You want to turn the fava beans in before the seeds start to form, about 2 week prior to when you want to plant. Fava beans are, you guessed it, a nitrogen fixer.
Winter Wheat
Winter wheat is a hardy annual. It is planted in the fall and does not die off over the winter. The germinated seed says dormant over the cold months and then starts to grow at the first signs of spring. This cover crop is extremely hardy, good to Zone 3 (-40 C). You will likely need a machine to help till this crop under.

Fall/Winter Rye
Fall rye is a soil builder. It is planted in the early fall, survives the winter, then resumes its growth in the spring. It can be cut back and left on the garden as a green manure or you can till it in. Either way, you need to catch it while it is less than 30 cm tall. Fall rye has an extensive root system that will help loosen the top soil and can improve drainage.
Terminating cover crops
There are 3 main ways to terminate cover crops. First is that they die off naturally due to the elements. Second is mechanical, you use a machine to cut them down or till them under the soil. Lastly is chemical. We choose not to use chemicals, such as glyphosates on our homestead, so this method won’t be covered in this post.
Most of the non-legume broadleaves, such a buckwheat and oilseed radish, are not winter hardy and will die off naturally due to the elements. These need to be planted in the fall, then left in place for the weather to have its effect.
Mechanical methods for terminating cover crops include mowers and weed whackers. These are probably tools you have already, so put them to good use. The cover crop needs to be cut low and close to the ground. From there, the mown crop can be left on the surface as mulch or it can be tilled into the soil.
Either way you are going to want to terminate your cover crops 2-4 weeks before you want to plant in the bed. This will allow adequate time for decomposition of the cover crop.
The most important thing to remember is that the cover crop must be terminated premature. You cannot let it go to seed. If the crop has a chance to go to seed you risk it replanting itself. Then the crop you planted to help your garden has now become a weed.
Do you use cover crops in your garden? Share in the comments any wisdom you have about cover crops in raised garden beds.
[…] gardens to the wind. If you are new to gardening or want more information on cover crops, check out this post. Getting a cover crop planted is an essential fall chore for any […]