
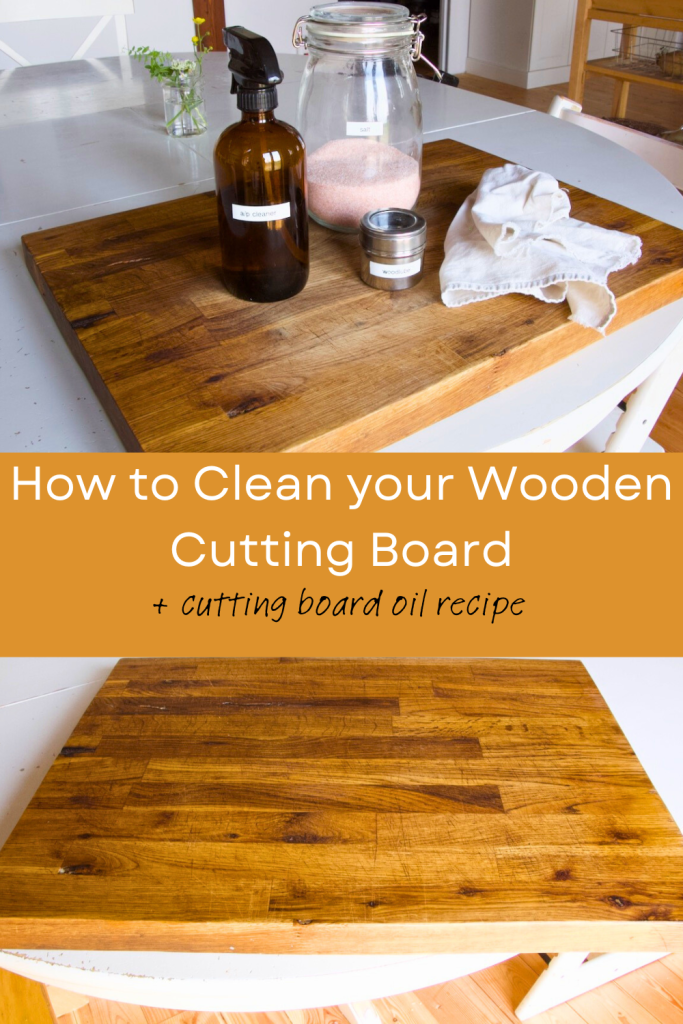
A cutting board is a vital part of any homestead kitchen. A well maintained wooden cutting board will last you for years and years. Here are some simple steps to maintaining your wooden cutting board.
This post included affiliate links. If you use the link and make a purchase, I may received a small commission at no extra cost to you. Thank you for supporting our site.
Reason to use a wooden cutting board
A wooden cutting board is a vital part of a homestead kitchen. When you are making 3 meals a day from scratch (like we do over here), the cutting board is one of the most used tools in the kitchen. Wooden cutting boards are extremely durable. They can hold up to years of being worked on. They are also easy on your knives. Cutting boards made from other materials, such as glass or ceramic, can wear down your knife over time. Not so with the wooden cutting board.
A wooden cutting board is smooth, but not slippery. It will feel nice to use, but you won’t feel like your food or knife are going to take off on you. A wooden cutting board is also biodegradable. That’s right, if you decide that you no longer want or need your cutting board, it will eventually break down and be gone from this earth. The same cannot be said about the plastic cutting boards lingering in the cupboards.
A wooden cutting board could be an investment that last a life time if it is properly looked after. Have you even seen listings for antique or vintage butcher blocks? They are just massive cutting boards that were cared for and treated as a valuable part of that kitchen. Luckily, with a little bit of regular maintenance, your cutting board could one day be sold as a vintage treasure.

How to clean your cutting board
Cleaning your wooden cutting board is a fairly straight forward part of its regular maintenance. Cutting boards should be wiped down between uses. Never leave water sitting on top once you are done chopping. After you are finished using your cutting board, or if you have used it to cut meat, clean your wooden cutting board with hot, soapy water. Rinse it off, dry and store in an up right position. DO NOT put your wooden cutting board in the dishwasher. The extreme heat of the dishwasher will cause the cutting board to warp and split.

Cleaning your wooden cutting board requires just a few basic household supplies. You need hot water, soap, a simple cleaning solution of vinegar and water (or half of a lemon), some salt, a lint free cloth, and something to protect your cutting board. You could also use baking soda as a gentle abrasive if your wooden cutting board has some stubborn stains on it.

Deep cleaning
If your wooden cutting board has any trapped smells or could just use a good scrub (because maybe it hasn’t been done in a while) just sprinkle some salt over your wooden cutting board. Once you have done that you can give it a mist with the vinegar/water solution or use half a lemon then scrub with your lint free cloth. Don’t skimp on the scrubbing either. It only takes a few minutes but it will make all the difference with how your wooden cutting board looks and smells.
Protecting your wooden cutting board
Once you have given your wooden cutting board a good, deep cleaning, you will want to protect it with an oil or a wax. When the wood is saturated with the oil/wax it forms a protective barrier on the surface of your wooden cutting board. The frequency that you will need to do this step will depend a lot on where you live and what the climate is like. Take a look at the photo above. See the lighter area in the middle? That is where the sealant has worn off and needs to be reapplied. If you can see this on your cutting board, its time to reapply.
Oils for protecting your board
The most recommended oil for protecting your wooden cutting board is a food grade mineral oil. FOOD GRADE! This is the key. There are a lot of mineral oils made for industrial use, they are NOT SAFE for your wooden cutting board. Food grade mineral oil is odourless, flavourless, and will not go rancid. If you have invested in a high quality cutting board, this is what you will want to protect it with. It would be a shame to rub it down with your favourite olive oil only to have the oil go rancid on your board and ruin it.
The controversial alternative to mineral oil is coconut oil. Coconut oil is mostly made up of saturated fats, meaning it is less likely to go rancid. But that doesn’t mean it won’t. If you are looking for an alternative to mineral oil but worried about the coconut oil going rancid, you could use MCT oil. MCT oil is more expensive than both mineral oil and coconut oil. Though it is more shelf stable than coconut oil, which means it is less likely to go rancid.
My final thoughts are that a protected board is better than an unprotected board. If all you have in the house is some coconut oil, I’d use it. It’s better than using nothing.
Waxes for protecting your wooden cutting board
There are a lot of great wax based products for protecting your wooden cutting board. They are usually a combination of food grade mineral oil and beeswax. Beeswax hydrates, adds shines and helps make the board water resistant.
Lucky for us, these cutting board waxes (lovingly referred to as wood lube in our house) are really easy to make. They are made from 1 part beeswax to 4 parts oil. Remember, a part can be any measurement you decide. Add them to a pot over low heat and stir until the beeswax is melted and combined in the oil. Pour into a heat proof, lidded container and let cool. Once cool, the wooden cutting board wax is ready to use.
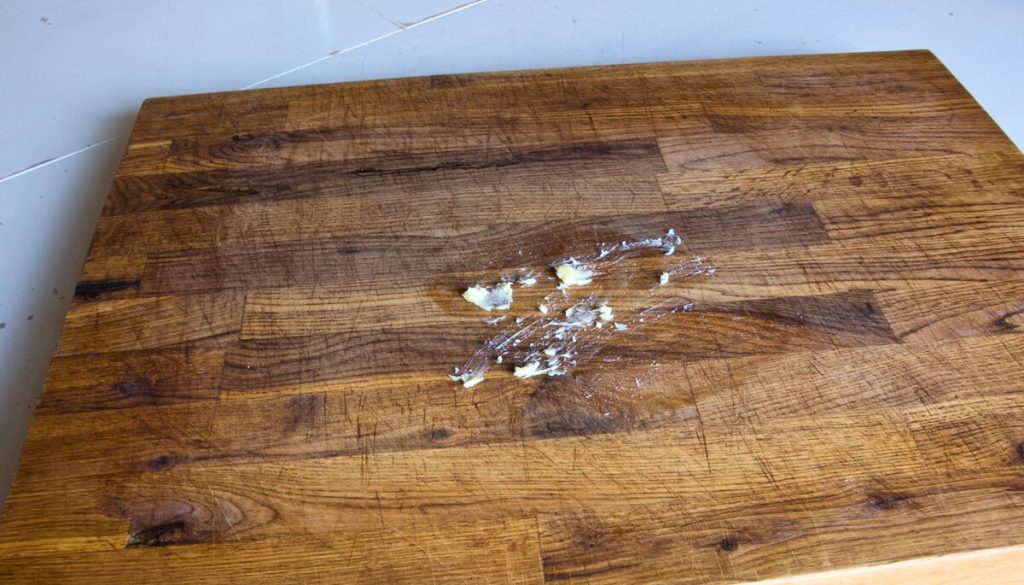
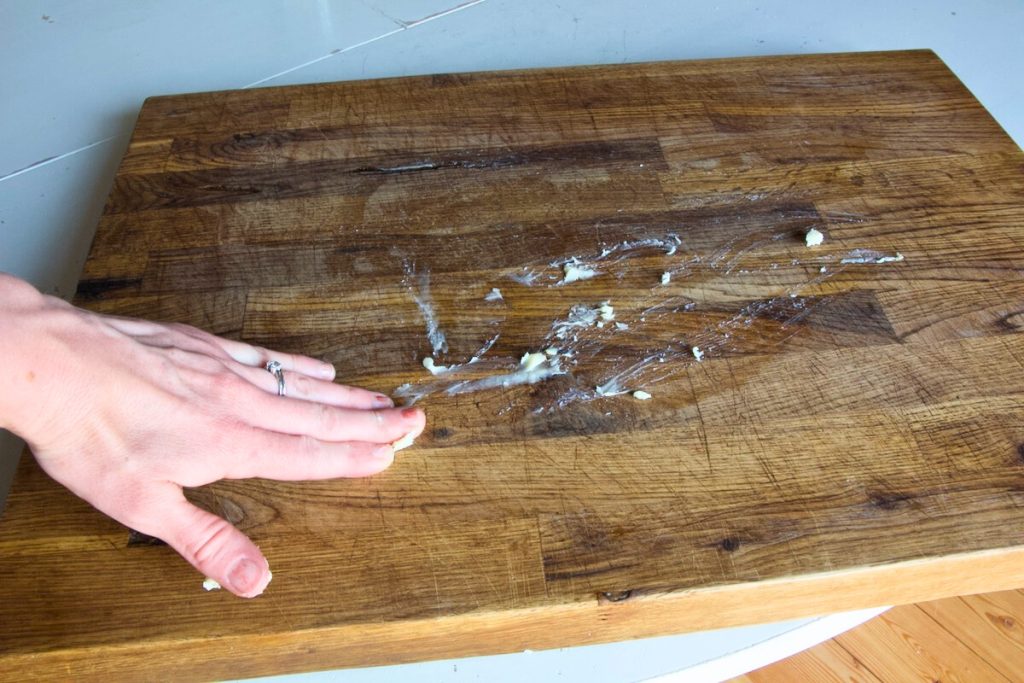
To use your wax, start with a small amount and rub into your wooden cutting board. Take your time and rub it in well. Make sure you cover the whole board. You can add more as needed.

At this point you are going to leave the wooden cutting board with your oil or wax on it. Ideally overnight. This is a chore I tend to do at the end of the day. But even a few hours will do. You want to give the oil a chance to soak into the wooden cutting board and recondition it.
The next morning (or a few hours later), before you use the board, take a clean, dry cloth and wipe the excess oil off of the board. Give it a good buff up. Once the excess has been removed your wooden cutting board is ready to use. It should look shiny, and a water should bead on the surface of the board. If it doesn’t, follow the step above again but this time try to leave the oil/wax on for longer. Just to give it a chance to really soak into the wood.

Taking care of your wooden cutting board is a small way to make sure your kitchen tools will last and continue to serve you well. Have you invested in a wooden cutting board yet?
Shop this post
Food grade mineral oil https://amzn.to/3NoOv4a
Beeswax https://amzn.to/42IyoTf
Lint free cloths https://amzn.to/3P6aAFZ

Thanks for this informative blog on caring for my cutting board. The links @ the end are useful too.